
How to Use ComfyUI: Beginner’s Guide to Comfy Cloud, Comfy Agent and Local Setup (2026)
A beginner’s guide to ComfyUI in 2026: Comfy Cloud vs local install, pricing, your first image in six steps, and how to use the new Comfy Agent.

Photo by <a href="https://unsplash.com/@danielkorpai?utm_source=WP+Agent&utm_medium=referral">Daniel Korpai</a> on <a href="https://unsplash.com/?utm_source=WP+Agent&utm_medium=referral">Unsplash</a>
If you want to learn how to use ComfyUI, this is a good time to start. ComfyUI is the free, open-source node editor that many AI artists use for image and video generation. On 1 October 2026 the team behind it launched Comfy Agent, a built-in assistant that can build and debug workflows for you from a plain-English request. This beginner guide covers what ComfyUI is, how to choose between Comfy Cloud and a local install, your first image generation, and how to use the new Comfy Agent without wasting credits.

Everything below was checked on 2 October 2026 against the official ComfyUI GitHub repository, the ComfyUI documentation, the Comfy Cloud pricing page and Comfy’s Comfy Agent launch post. Comfy Agent is in beta, so expect menus and limits to change.
What Is ComfyUI?
ComfyUI is a visual engine for generative AI. Instead of typing a prompt into one box and pressing “generate”, you build a workflow out of connected blocks called nodes. One node loads a model, another encodes your prompt, another samples the image, another saves it. You wire them together on a canvas, and ComfyUI runs the graph from left to right.
That sounds more complicated than a chat-style image generator, and at first it is. The payoff is control. You can see every step, swap one model for another, add an upscaler or a face-detail pass, and save the whole pipeline to reuse later.
Key facts from the official repository:
- Licence: GPL-3.0, so the core software is free and open source.
- What it generates: images, video, audio, 3D and text, depending on the models you load.
- Platforms: Windows, Linux and macOS, including Apple Silicon.
- Hardware: NVIDIA, AMD and Intel GPUs and Apple Silicon are supported. The README says smart memory management lets large models run on as little as 4 GB of VRAM with 8 GB of system RAM, and a CPU-only mode exists (it is very slow).
- Offline by design: the core does not download anything on its own; you choose which models to install.
If you have read our AniSora workflow guide, you have already seen why node-based tools matter: complex video pipelines are much easier to control when every step is visible.
ComfyUI Cloud vs Local: Which Should You Start With?
The first decision is where ComfyUI runs. There are three main options.
| Option | Best for | Cost | Main limitation |
|---|---|---|---|
| Comfy Cloud (browser) | Beginners, laptop users, anyone without a strong GPU | Free trial, then paid plans | Only cloud-compatible custom nodes; usage is billed |
| Comfy Desktop (Windows/macOS app) | People with a decent GPU who want a guided install | Free | You need the hardware and the disk space |
| Portable / manual install | Advanced users, Linux, custom setups | Free | More technical setup and maintenance |
Choose Comfy Cloud if you are still deciding whether ComfyUI is for you, or if your computer has no dedicated graphics card. It runs on Comfy’s own GPUs, so nothing needs installing, and it is currently the only place to try Comfy Agent.
Choose a local install if you already have a reasonably modern NVIDIA or AMD graphics card, want unlimited generations without paying per GPU second, or need custom nodes that Comfy Cloud does not support. Your images also stay on your own machine.
Many people do both: they learn and experiment in the cloud, then move to local once they know which models and workflows they actually use.
Comfy Cloud Pricing (Checked 2 October 2026)
The core ComfyUI software is free. You only pay if you use Comfy Cloud’s GPUs. According to the official pricing page:
| Plan | Monthly price | Yearly price | Max run time per workflow | Custom model imports |
|---|---|---|---|---|
| Free | $0 | n/a | n/a | No |
| Standard | $20 | $192 | 30 minutes | No |
| Creator | $35 | $336 | 30 minutes | Yes |
| Pro | $100 | $960 | 1 hour | Yes |
| Team | $700 | $7,560 | Pro features | Yes (up to 50 members) |
A few details matter for Comfy Cloud pricing:
- The free tier is a trial. The pricing page lists 5 free GPU runs with no credit card required.
- You pay per GPU second. Comfy says billing happens only while a workflow is actually running; idle time does not use GPU hours.
- Paid plans run on high-end hardware. Comfy lists Blackwell RTX 6000 Pro GPUs with 96 GB of VRAM, far more than most home PCs.
- Annual billing is cheaper. Comfy advertises savings of up to 20% on yearly plans.
- Prices are in US dollars. Readers in the UK, Germany, France, the Netherlands and the rest of Europe should check the final amount at checkout.
So is ComfyUI free? The software is, and running it on your own computer costs nothing beyond electricity. Comfy Cloud is free only for the trial runs.
How to Use ComfyUI: Your First Image in 6 Steps
These steps follow the official “first generation” guide and work in both Comfy Cloud and Comfy Desktop.
Step 1: Open ComfyUI
For the cloud, sign in at cloud.comfy.org. For local use, download Comfy Desktop from the official site. The Windows documentation lists Windows 10 or later and about 4.85 GB of disk space per installation, plus extra space for models, which are often several gigabytes each.
Step 2: Load a text-to-image workflow
Open the Workflows or templates menu and choose the basic text-to-image template. You can also drag a PNG created by ComfyUI onto the canvas, because ComfyUI saves the full workflow inside the image’s metadata.
Step 3: Install any missing models
If the workflow needs a model you do not have, ComfyUI shows a warning with download links. In Comfy Desktop you can download directly into the ComfyUI/models/checkpoints folder. If you add a model by hand, press R to refresh the model lists.
Step 4: Understand the five core nodes
The default workflow uses five nodes you will meet in almost every image pipeline:
- Load Checkpoint: chooses the AI model.
- CLIP Text Encode: turns your positive and negative prompts into something the model understands.
- KSampler: generates the image. Its seed, steps and CFG settings control variety, detail and how closely it follows your prompt.
- VAE Decode: converts the result into a viewable image.
- Save Image: shows and stores the final picture.
Step 5: Write your prompt and run
Type your description in the positive prompt node and anything you want to avoid in the negative one. Then click Run or press Ctrl + Enter. The image appears in the Save Image node; right-click it to save a copy.
Step 6: Change one thing at a time
The fastest way to learn is to change a single setting, run again and compare. Try a new seed, then more steps, then a different checkpoint. Once you understand cause and effect, bigger workflows stop looking intimidating.

How to Use Comfy Agent (New in October 2026)
The biggest barrier for ComfyUI beginners has always been the node graph itself: which nodes you need, how to connect them, and why a workflow fails. Comfy Agent is designed to remove that barrier. Comfy describes it as an agent that can plan, build and run workflows on the canvas with you.
What Comfy Agent can do
According to Comfy’s launch post and product page, Comfy Agent can:
- Build a workflow from a description, such as “make a workflow that turns this product photo into a five-second video”.
- Edit an existing workflow, for example swapping models to compare results.
- Explain a workflow you downloaded and point out performance bottlenecks.
- Debug errors instead of leaving you to search forums.
- Batch-process images across workflows.
- Understand visual assets you drag into the chat.
- Run up to five parallel chats, each with its own history.
- Use reusable skills, which can be public or private, so repeated tasks follow the same instructions.
Comfy also says the agent works alongside you on the canvas: you can keep editing nodes while it works.
Step-by-step: your first Comfy Agent task
- Sign in to Comfy Cloud. At launch, Comfy Agent is available only in the cloud. Comfy says it will reach Comfy Desktop “in a few weeks”.
- Open the Agent panel from the ComfyUI interface.
- Describe the result, not the nodes. For example: “Build a text-to-image workflow for square product shots on a white background, then add an upscale step.”
- Review before running. By default, Comfy says the agent asks for confirmation before starting generations, which protects your credits. An automatic mode is available once you trust it.
- Ask it to explain. Asking “explain what each node does” turns the agent into a ComfyUI tutorial tailored to your workflow.
- Save what works as a skill so you can repeat it next time.
Comfy Agent costs and limits
Comfy Agent uses the same Comfy Credits as the rest of Comfy Cloud. The launch post says you can try it with existing credits, and new users get some free usage to start. Comfy has not published a separate per-message price for the agent, so keep the confirmation step switched on while you learn how many credits your workflows use.
Remember it is a beta. Comfy lists planned additions including more model options, better public skills, external integrations and agent-built custom nodes. Agents in general are moving fast; our overview of how AI agents are changing business in 2026 covers the wider trend.
ComfyUI Workflows Worth Learning Next
Once your first image works, these are the most searched next steps, and Comfy Agent can help you build any of them:
- Image to image: start from an existing picture and change its style or details.
- ComfyUI image to video: animate a still image. Video models need far more VRAM and run time than image models, which is where Comfy Cloud’s large GPUs help. For alternatives without nodes, compare our list of the best AI video generators.
- Upscaling: add an upscale model after VAE Decode for sharper, larger output.
- Inpainting: mask part of an image and regenerate only that area.
- LoRAs: small add-on models that teach a checkpoint a style or character.
- ControlNet: guide composition with a pose, depth map or outline.
If you plan to finish clips in an editor afterwards, our guide to AI video editing tools covers the next stage of the pipeline.
ComfyUI Manager and Custom Nodes
Custom nodes are community extensions that add new features. ComfyUI Manager is the extension most people use to search, install and update them from inside the interface, rather than copying folders by hand.
Two cautions for beginners:
- Install only what you need. Every custom node is third-party code running on your machine. Stick to well-maintained, widely used packages and update ComfyUI before troubleshooting.
- Cloud is different. Comfy Cloud supports a set of cloud-compatible nodes, so a workflow that needs an unusual custom node may only work locally.
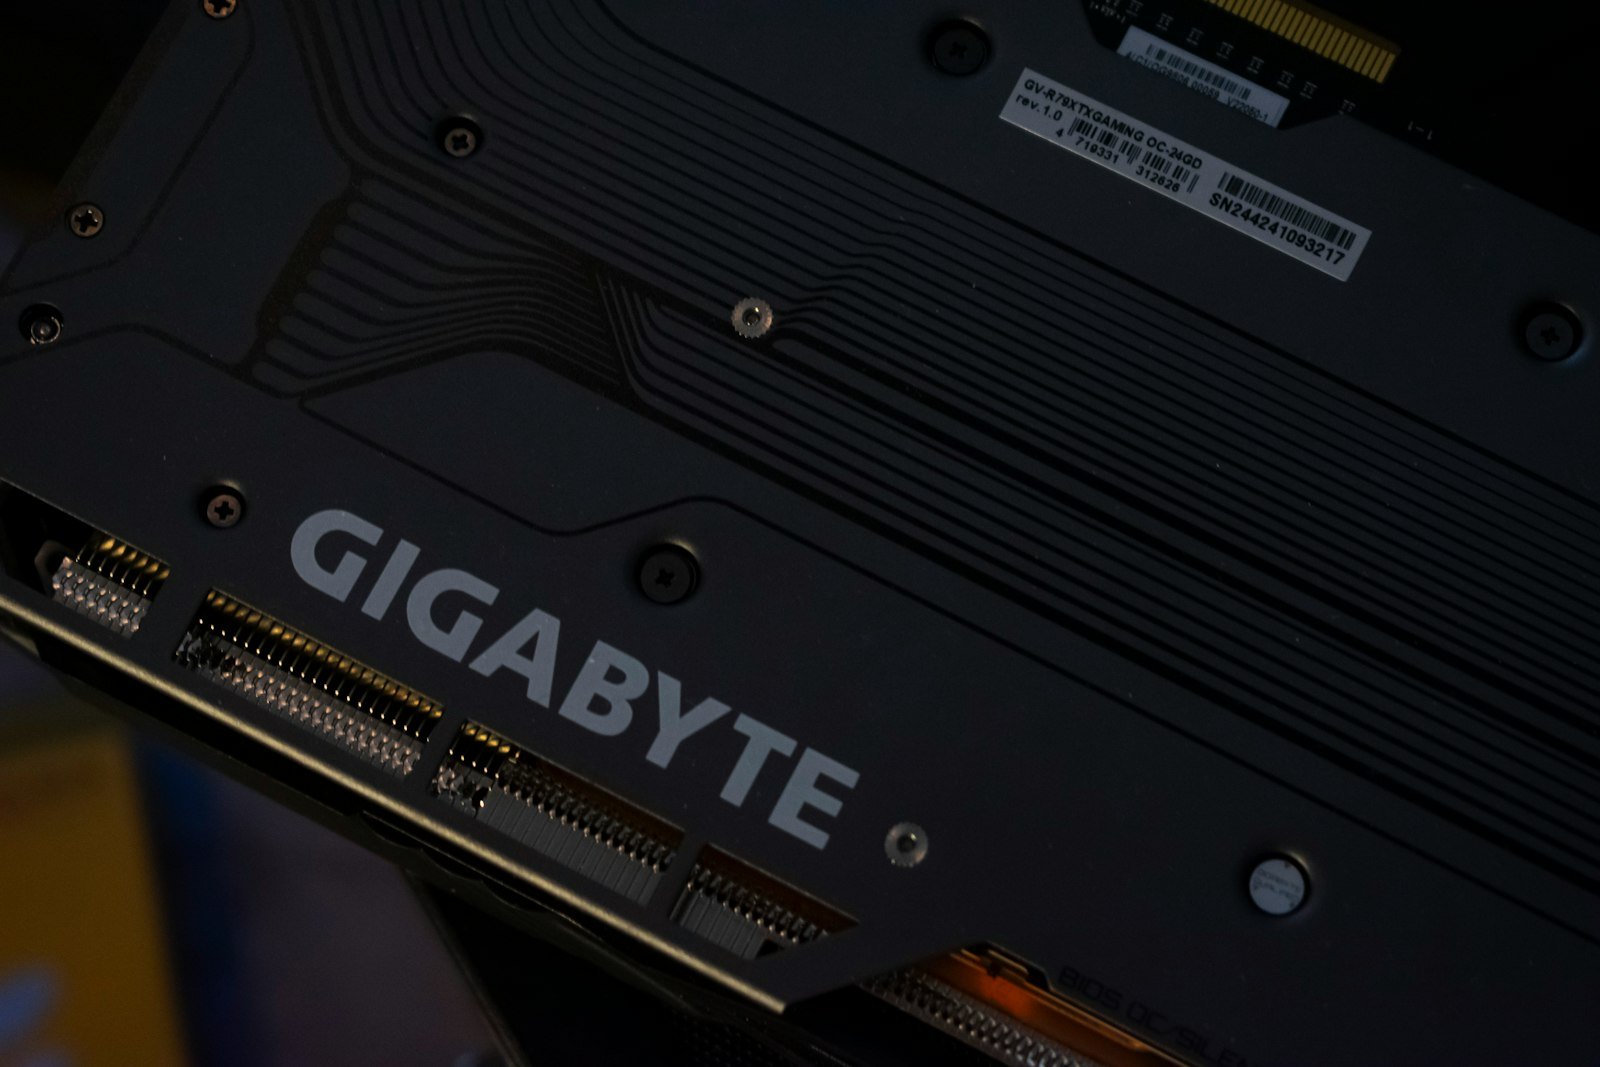
Running ComfyUI Locally: What Hardware Do You Need?
The honest answer is “it depends on the model”. The official README says ComfyUI can run large models with 4 GB of VRAM and 8 GB of RAM by streaming weights, but low-VRAM setups are slow, especially for video. As a practical guide:
- Images on a budget: an older NVIDIA card or Apple Silicon Mac can run lighter image models; expect to wait. If disk space is tight on a Mac running macOS 27, check whether turning off Apple Intelligence frees storage before downloading large models.
- Comfortable image work: more VRAM means more headroom; a card with 12 GB or more handles modern image models, LoRAs and upscaling far more comfortably than a 4–8 GB card.
- Video: video models are the most demanding. If your card struggles, render videos in Comfy Cloud and keep image work local.
- Disk space: budget tens of gigabytes once you collect a few checkpoints.
The README lists NVIDIA, AMD (ROCm), Intel Arc and Apple Silicon support. A portable Windows build is also available as a 7z archive for people who prefer not to use the installer.
Common ComfyUI Beginner Mistakes
- Building from scratch on day one. Start from a template or a shared workflow, then modify it.
- Mixing model families. A LoRA or VAE made for one model family often will not work with another. Check what each file is for before connecting it.
- Ignoring the error message. ComfyUI highlights the failing node. Read it, or paste it into Comfy Agent and ask for a fix.
- Running agent tasks blindly. In auto mode, a vague request can burn credits on generations you did not want. Keep confirmations on at first.
- Installing dozens of custom nodes. They slow start-up, can conflict with each other, and add security risk.
Who Should Use ComfyUI?
ComfyUI suits creators who want control and repeatability: designers producing consistent product images, YouTubers building visual pipelines, game developers making concept art, and anyone experimenting with open models. If you just want a quick image from a single prompt, a prompt-based generator is simpler; Google’s Nano Banana 2.1 in Gemini is another easy option. If you want to understand and own your process, ComfyUI is worth the learning curve, and Comfy Agent now makes that curve much gentler.
For video creators, ComfyUI fits naturally into a wider pipeline. Our guide to YouTube automation with AI shows where generated visuals fit alongside scripting, voice-over and editing.
FAQ
Is ComfyUI free?
Yes. ComfyUI is open-source software under the GPL-3.0 licence, and running it on your own computer is free. Comfy Cloud, the hosted version, offers a free trial (5 GPU runs at the time of checking) and paid plans from $20 a month.
Is ComfyUI hard to learn for beginners?
The node interface takes a few hours to get used to, but templates make the first image easy. Comfy Agent, launched in October 2026, can now build and explain workflows from plain-language requests, which lowers the barrier considerably.
What is the difference between ComfyUI and Comfy Cloud?
ComfyUI is the software. Comfy Cloud is the official hosted service that runs ComfyUI in your browser on Comfy’s GPUs, billed by GPU time. Local ComfyUI runs on your own hardware. If you also want a text model on the same machine, see our walkthrough on running LLMs on your own PC.
Can I use Comfy Agent locally?
Not yet. At launch, Comfy Agent works only in Comfy Cloud. Comfy says it will arrive in Comfy Desktop within a few weeks.
Can ComfyUI make videos?
Yes. ComfyUI supports video models for text-to-video and image-to-video workflows. They need far more GPU memory than image models, so many users run video workflows in Comfy Cloud.
Final Thoughts
Learning how to use ComfyUI used to mean weeks of forum threads and broken graphs. In 2026 the path is simpler: start in Comfy Cloud with the free trial, generate your first image from a template, let Comfy Agent build and explain your next workflows, and move to a local install when you know what you need. The node graph is still there when you want full control, and that is exactly what makes ComfyUI worth learning.
Sources: ComfyUI on GitHub; ComfyUI docs: first generation; Comfy Desktop for Windows; Comfy Cloud pricing; Comfy Agent launch post; Comfy Agent product page. Checked 2 October 2026.





3 thoughts on “How to Use ComfyUI: Beginner’s Guide to Comfy Cloud, Comfy Agent and Local Setup (2026)”